
Uphold bar hardware holes are used to secure the saw to the stand, making sure that it doesn’t fall off.
To make it easier to handle, store and transport, it folds up into a small package.
There are three saws that work with the DW7480: the DW7485 60V saw, and the DW7445 small table saw.
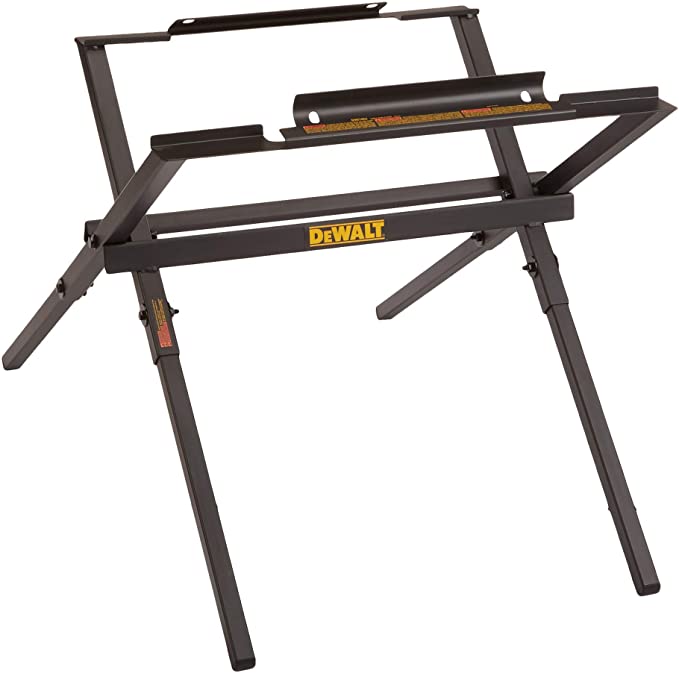
The DEWALT DW7451 compact table saw stand has both solid construction and a small, folding design that makes it easy to move and store, making it safe to work in. The heavy-duty tube steel construction gives you the strength you need for safe use. Integrated hardware holes make it easy to secure the saw to the stand. This stand is easy to move, store, and transport because it folds up small. For the DW7480 job site table saw, the Dcs7485 60V table saw, and the DW745 table saw.
So, I bought this stand because it says right on the box that this stand was made for my new small table saw (DWE7485). That’s not true. Two of the bolts don’t even fit the holes on the saw. The bolt holes don’t line up. In order to come up with a solution, I called DeWalt. They sent me detailed instructions (see below) on how to make a temporary fix. A lot of people who buy a stand from them don’t know that they’ll have to build their own platform.
People who use DEWALT’s instruction.
Make sure that your saw has mounting holes that don’t line up with the slots in these mounting brackets. Then follow these steps.
This is the first step. Cut a piece of 3/4″ plywood that is 2″ longer and 2″ wider than the bottom of your saw. The plywood should not be more than 23-1/2″ long by 26-1/4″ wide, but it should not be any bigger. There are some warnings here. If your saw needs a piece of plywood that’s more than 23-1/2″ by 26-1/4″ wide, this stand is not for you. Make a mark on one side of your plywood that says “front” as a guide for where to put brackets and saws.
It’s time to find the M8 bolts and nuts that came with your stand. When you build your house, you will use these to attach plywood to the brackets. Drill four 5/16″ holes in the plywood to match the slots in the mounting brackets that go in the front and back of the plywood. It’s important to make sure that these holes are in the right place so the M8 bolt heads don’t get in the way of the saw base when you attach your saw to a piece of wood. Do not use the small slot above the release lever to mount this way.
Glue the plywood to the mounting brackets you found in Step 2. You’ll need the hardware you found in Step 2. In order to attach the brackets to the plywood, make sure that the front of the brackets point to the side of the board that you marked as front.
This is the fourth step. You need to figure out how many holes there are and how big each hole is. Step 5: Make four holes in the plywood that are the same size as the holes on the saw base. To make sure the saw base bolts don’t get in the way of the stand mounting brackets, these holes should be big enough.
To make sure your saw doesn’t fall off the plywood, you’ll need to buy four bolts. Size: These bolts should fit the holes in your saw base. The length of the bolt should be based on the thickness of your saw base, as well as the thickness of the plywood you’re cutting. Allowing for extra length, you can use a washer and a lock nut to keep the saw base in place on the plywood.